


Please review our Disclaimer
Preamble
This article describes the process of how I downloaded and created a Mac Monterey version 12.4 install iso that can be used to install Mac Monterey from scratch.
An example of what the iso can be used for is as follows... currently on Parallels Desktop 17 for Mac (Version 17.1.4 (51567)) there are issues when trying to create a Mac Monterey virtual machine from the Parallels 'Control Center' using the Mac recovery partition image. In short, it doesn't work.
However I was able to create a Mac Monterey virtual machine on Mac with Parallels using the full install iso image as outlined below. In another article I'll document the process of creating the Parallels Mac Monterey virtual machine from install iso.
Working Environment and Requirements
The process described in this article was developed and tested on an Intel iMac running Monterey version 12.4.
Requirements
paid subscription for and access to Apple Developer ( developer.apple.com )
blank external usb drive >16gb formatted with 'Mac OS Extended ( Journaled )'
Step #1 - Obtain the Update File from Apple
A little about Apple Developer from their website... "Apple Developer Program. Join the Apple Developer Program to reach customers around the world on the App Store for iPhone, iPad, Mac, Apple Watch, Apple TV, and iMessage. You'll also get access to beta software, advanced app capabilities, extensive beta testing tools, and app analytics."
-> Login to apple developer with paid subscription ( developer.apple.com )
-> Navigate to 'Downloads - Operating Systems'
-> Select 'macOS 12.4 - Download'
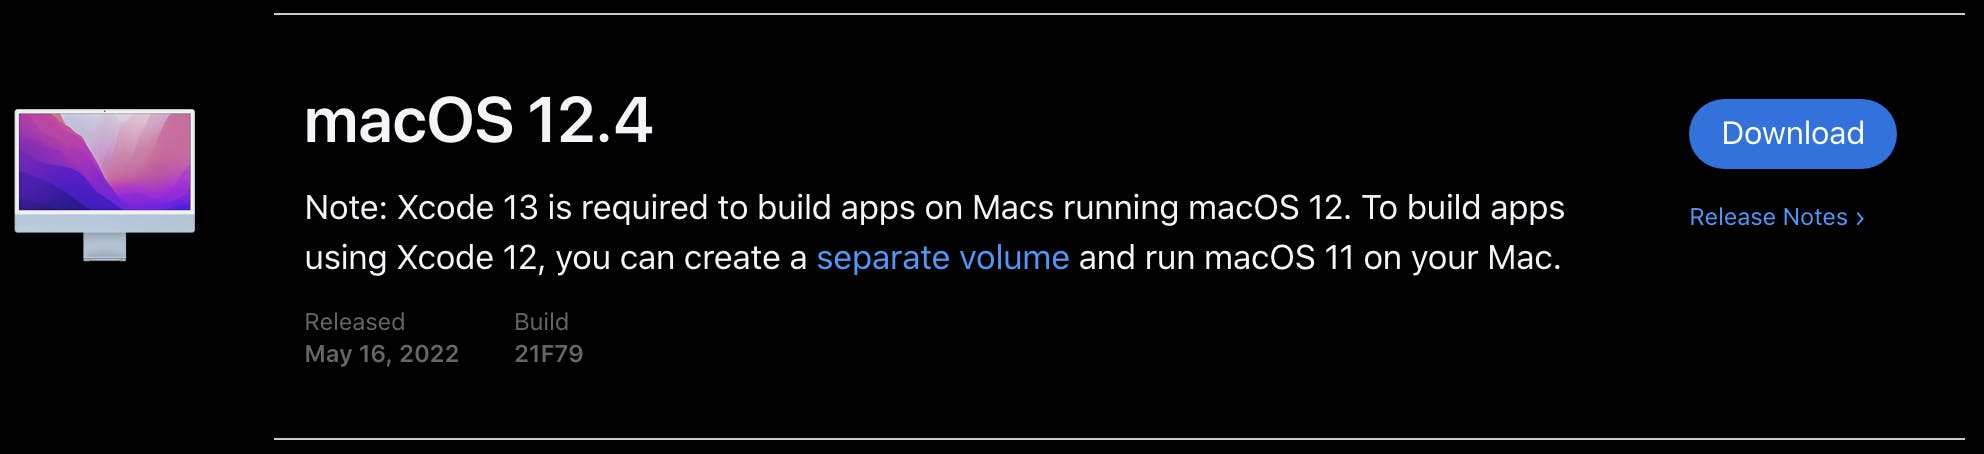
You are then directed to the mac app store.
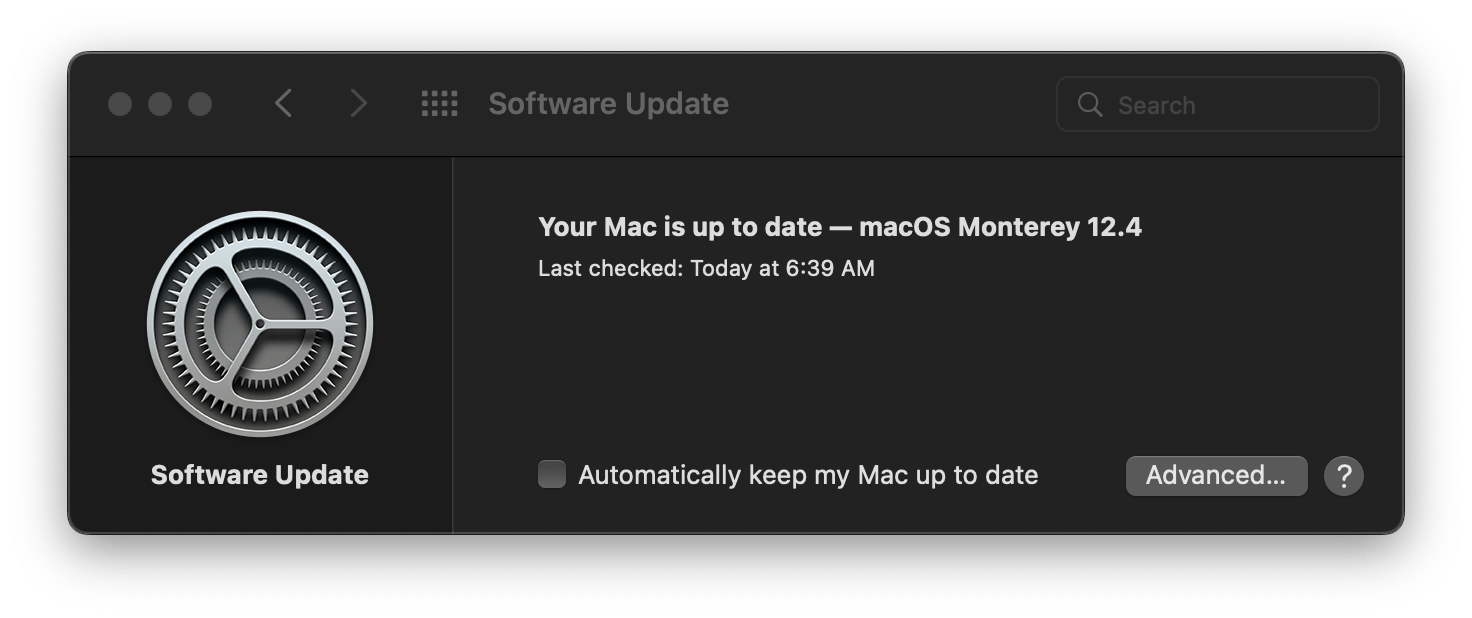
-> Click the macOS Monterey 'Get' to start the download
Your macs Software Update window will now open and show the progress of the download.
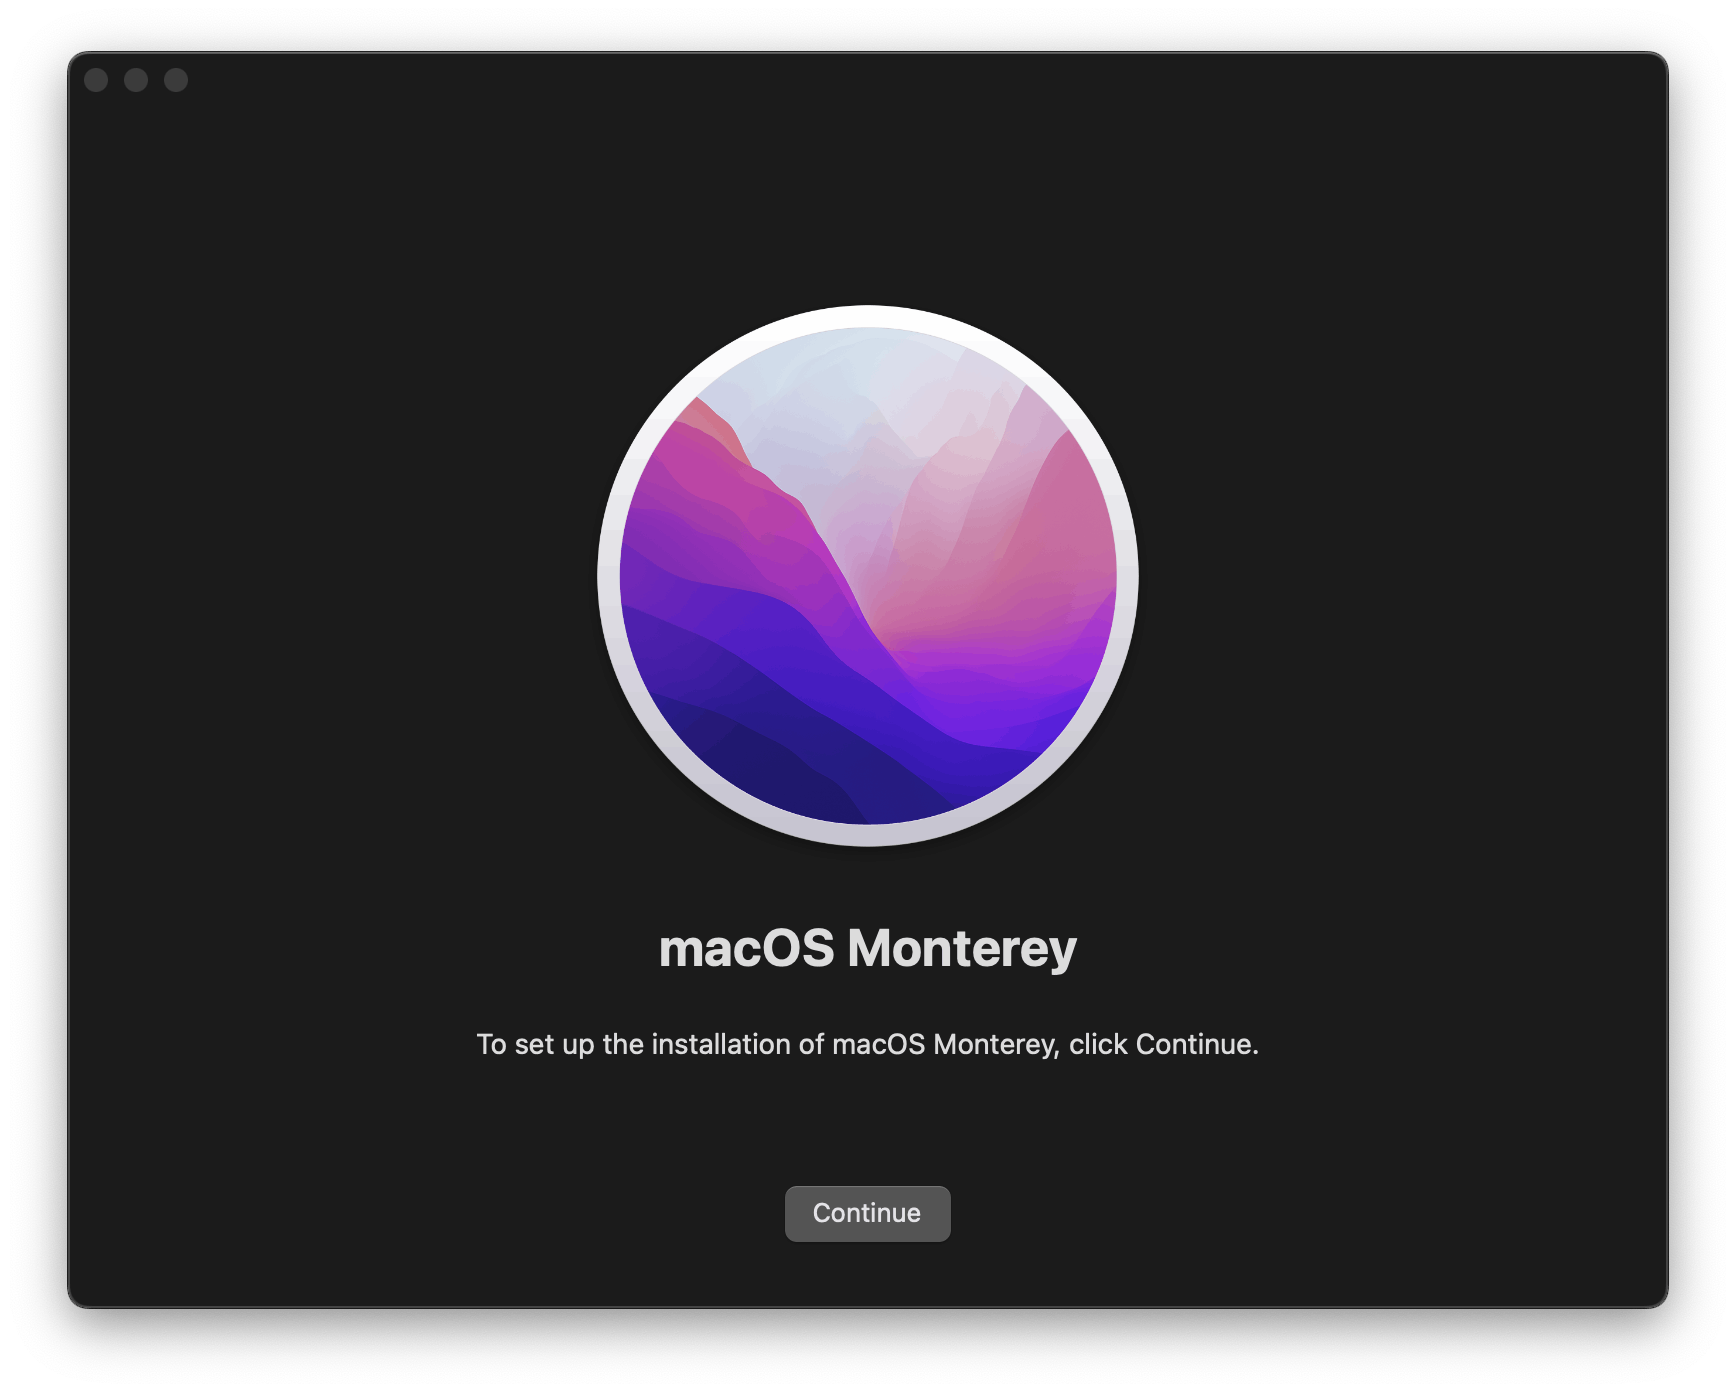
Once the download is complete, the 'macOS Monterey' installation setup screen will appear -> Select 'Continue'
-> Select 'Agree'
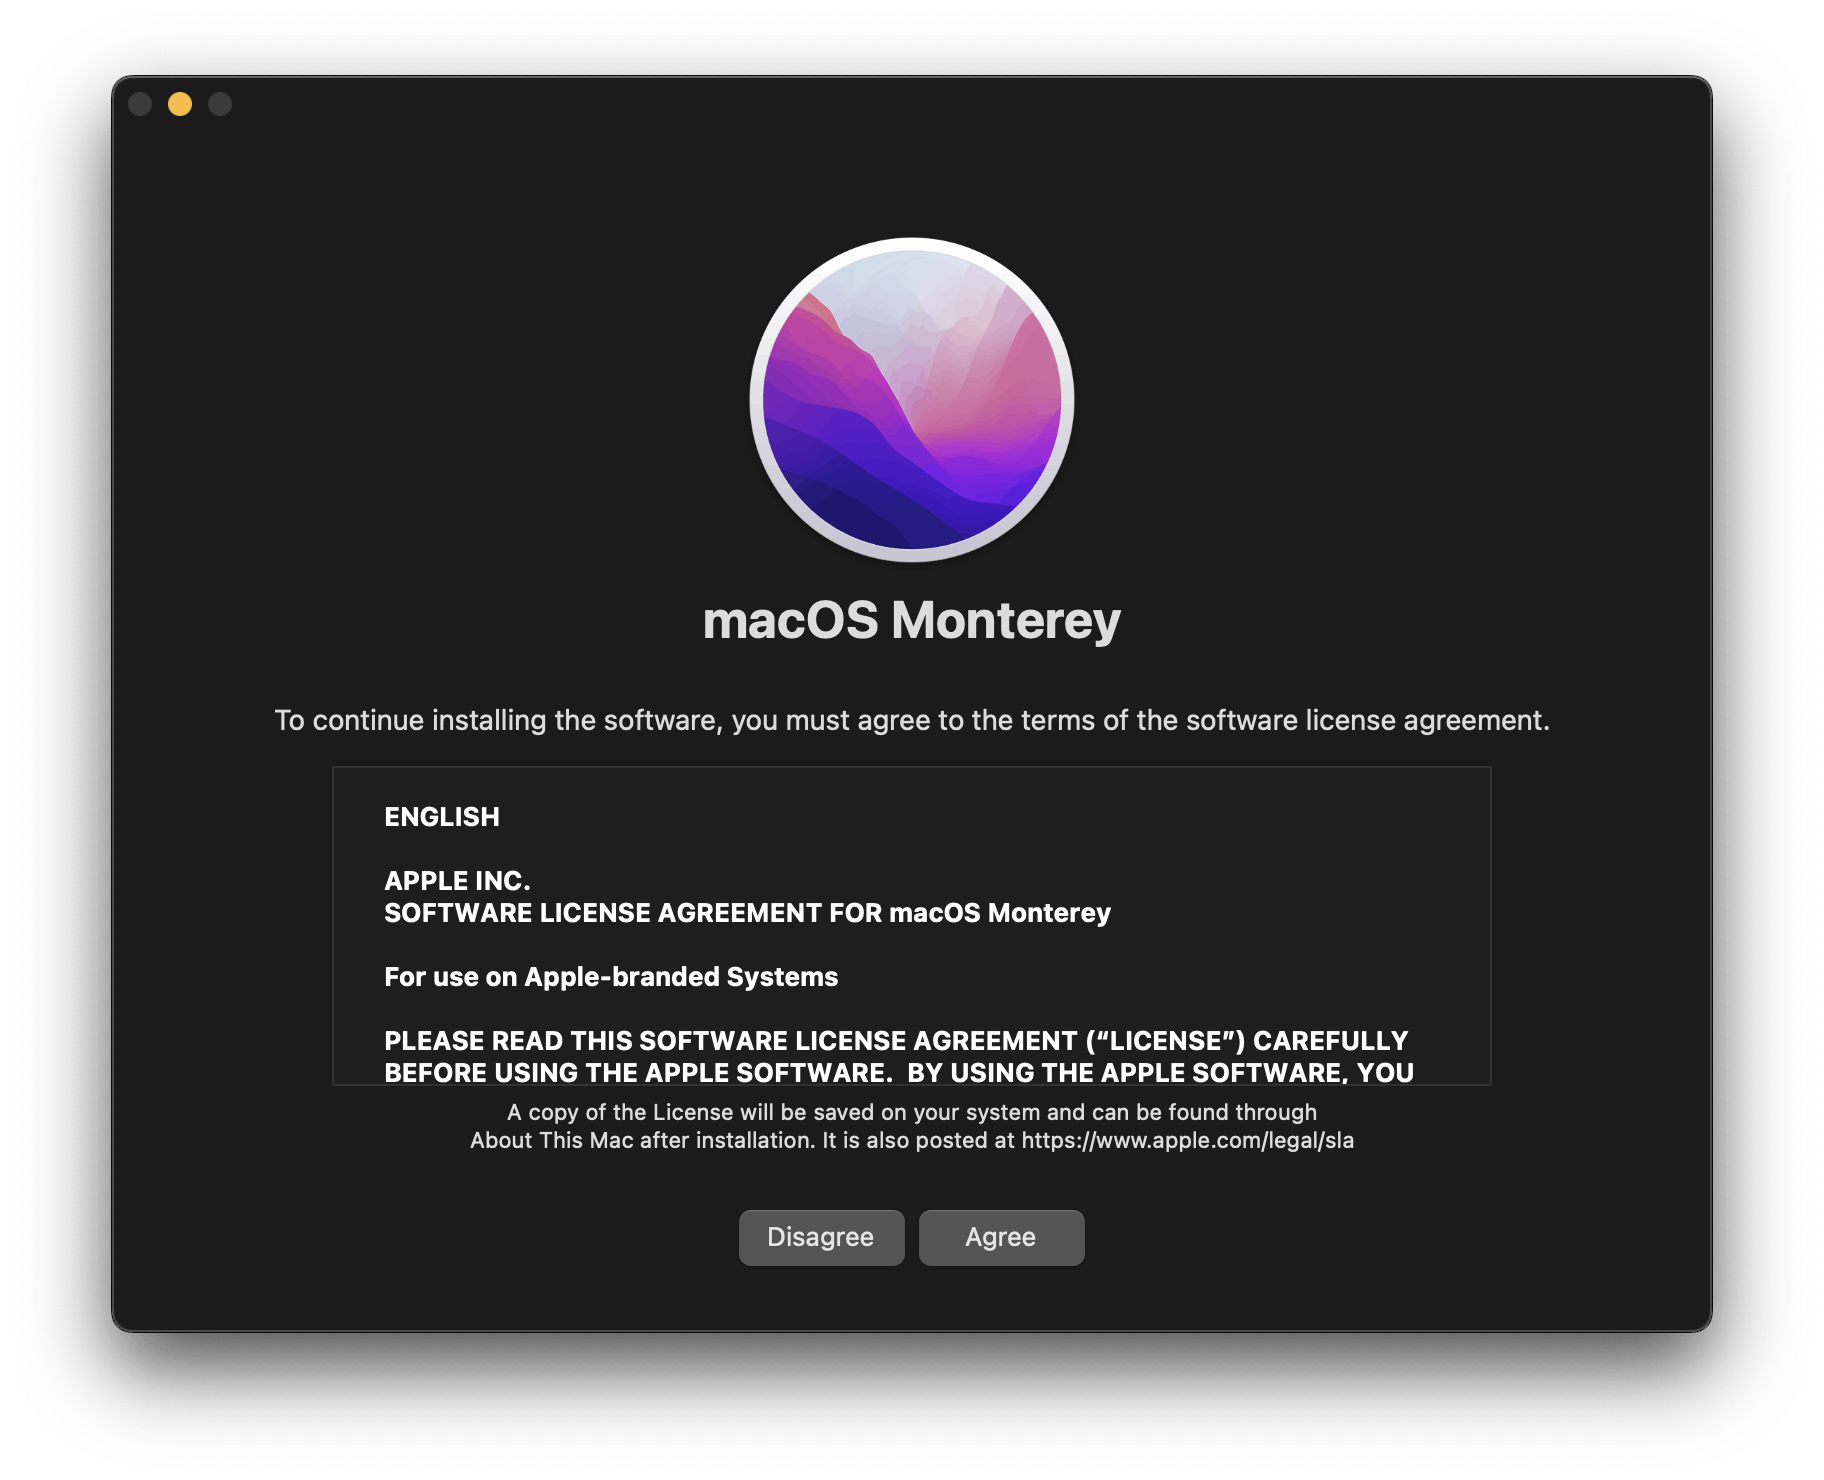
-> DO NOT continue installing or quit, just leave this window open for now
Open the console and check that the install file is present.
-> cd /Applications/Install
-> ls and look for 'Install macOS Monterey.app'
or
-> Open 'Applications' and look for 'Install macOS Monterey.app' there.

Step #2 - Create Bootable USB with Installer ISO for Monterey
Connect an external usb device >16gb to your mac, noting its name as seen on your desktop (mounted drive) e.g. 'Untitled'
-> Open 'Disk Utility', right-click the external 'Untitled' usb, select 'Erase', rename it to 'MontereyISO', select 'Format' of 'Mac OS Exttended (Journaled)', click 'Erase'

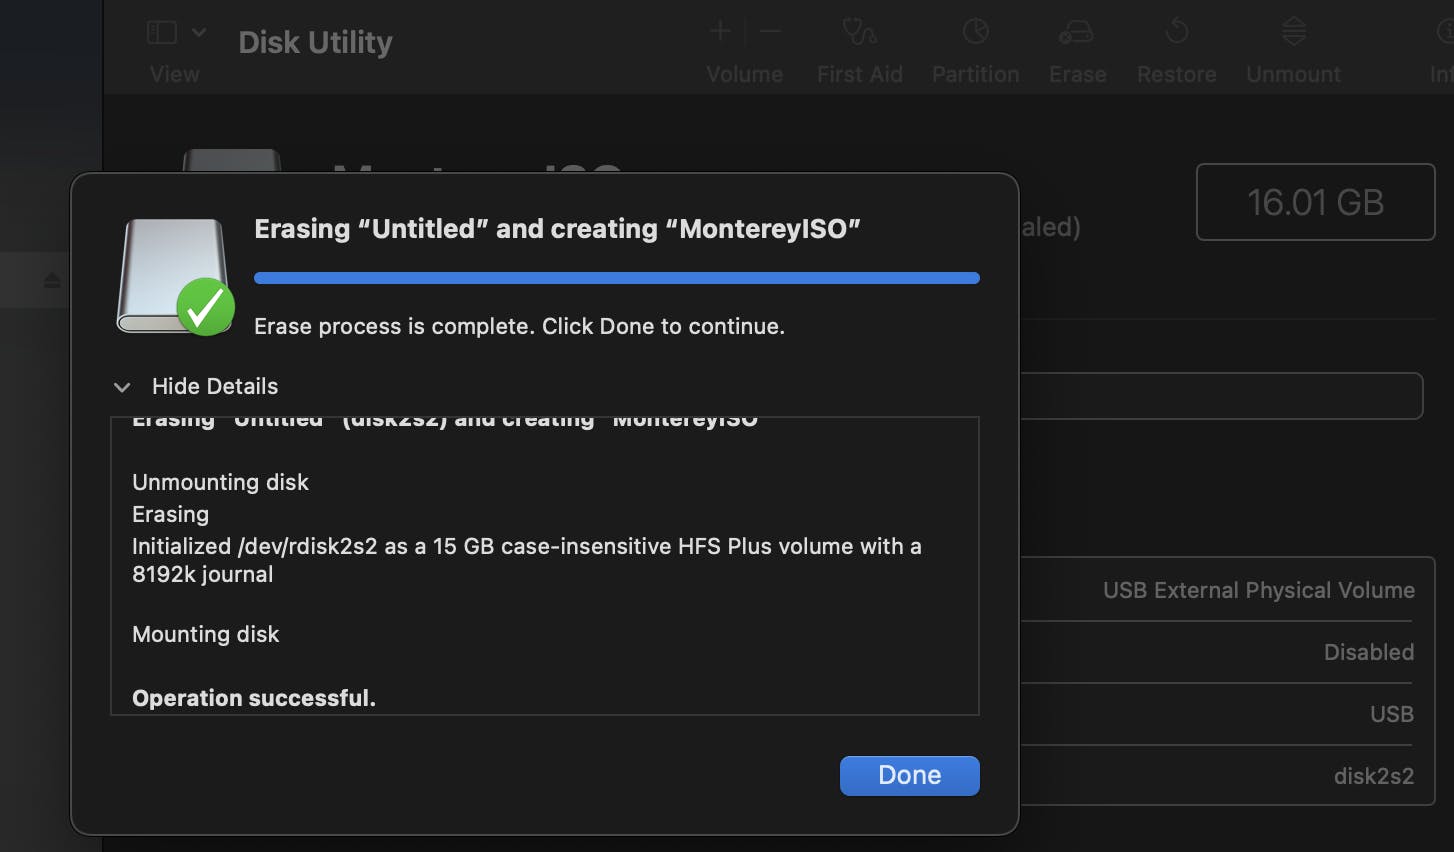

The mounted external usb drive should now be named 'MoneteryISO' as seen on the desktop.
From the console I ran the following command with the name of the external usb drive 'MontereyISO'. ``` sudo /Applications/Install\ macOS\ Monterey.app/Contents/Resources/createinstallmedia --volume /Volumes/MontereyISO
-> type 'Y' when prompted to start the process (all existing data on the usb drive will be deleted)
- first erases any existing data
- second makes the disk bootable
- third copies the 'Install macOS Monterey.app' install data to the usb drive as iso
The name of the mounted drive has now been changed from 'MontereyISO' to 'Install macOS Monterey'

This part of the iso creation can take quite some time to get to 100%, after which the console cursor will go to the next line and just sit there, be patient it is still working.

Finally you should see the 'Install media now available' message in the console.


### Step #3 - Cleanup
-> Close the software update window.
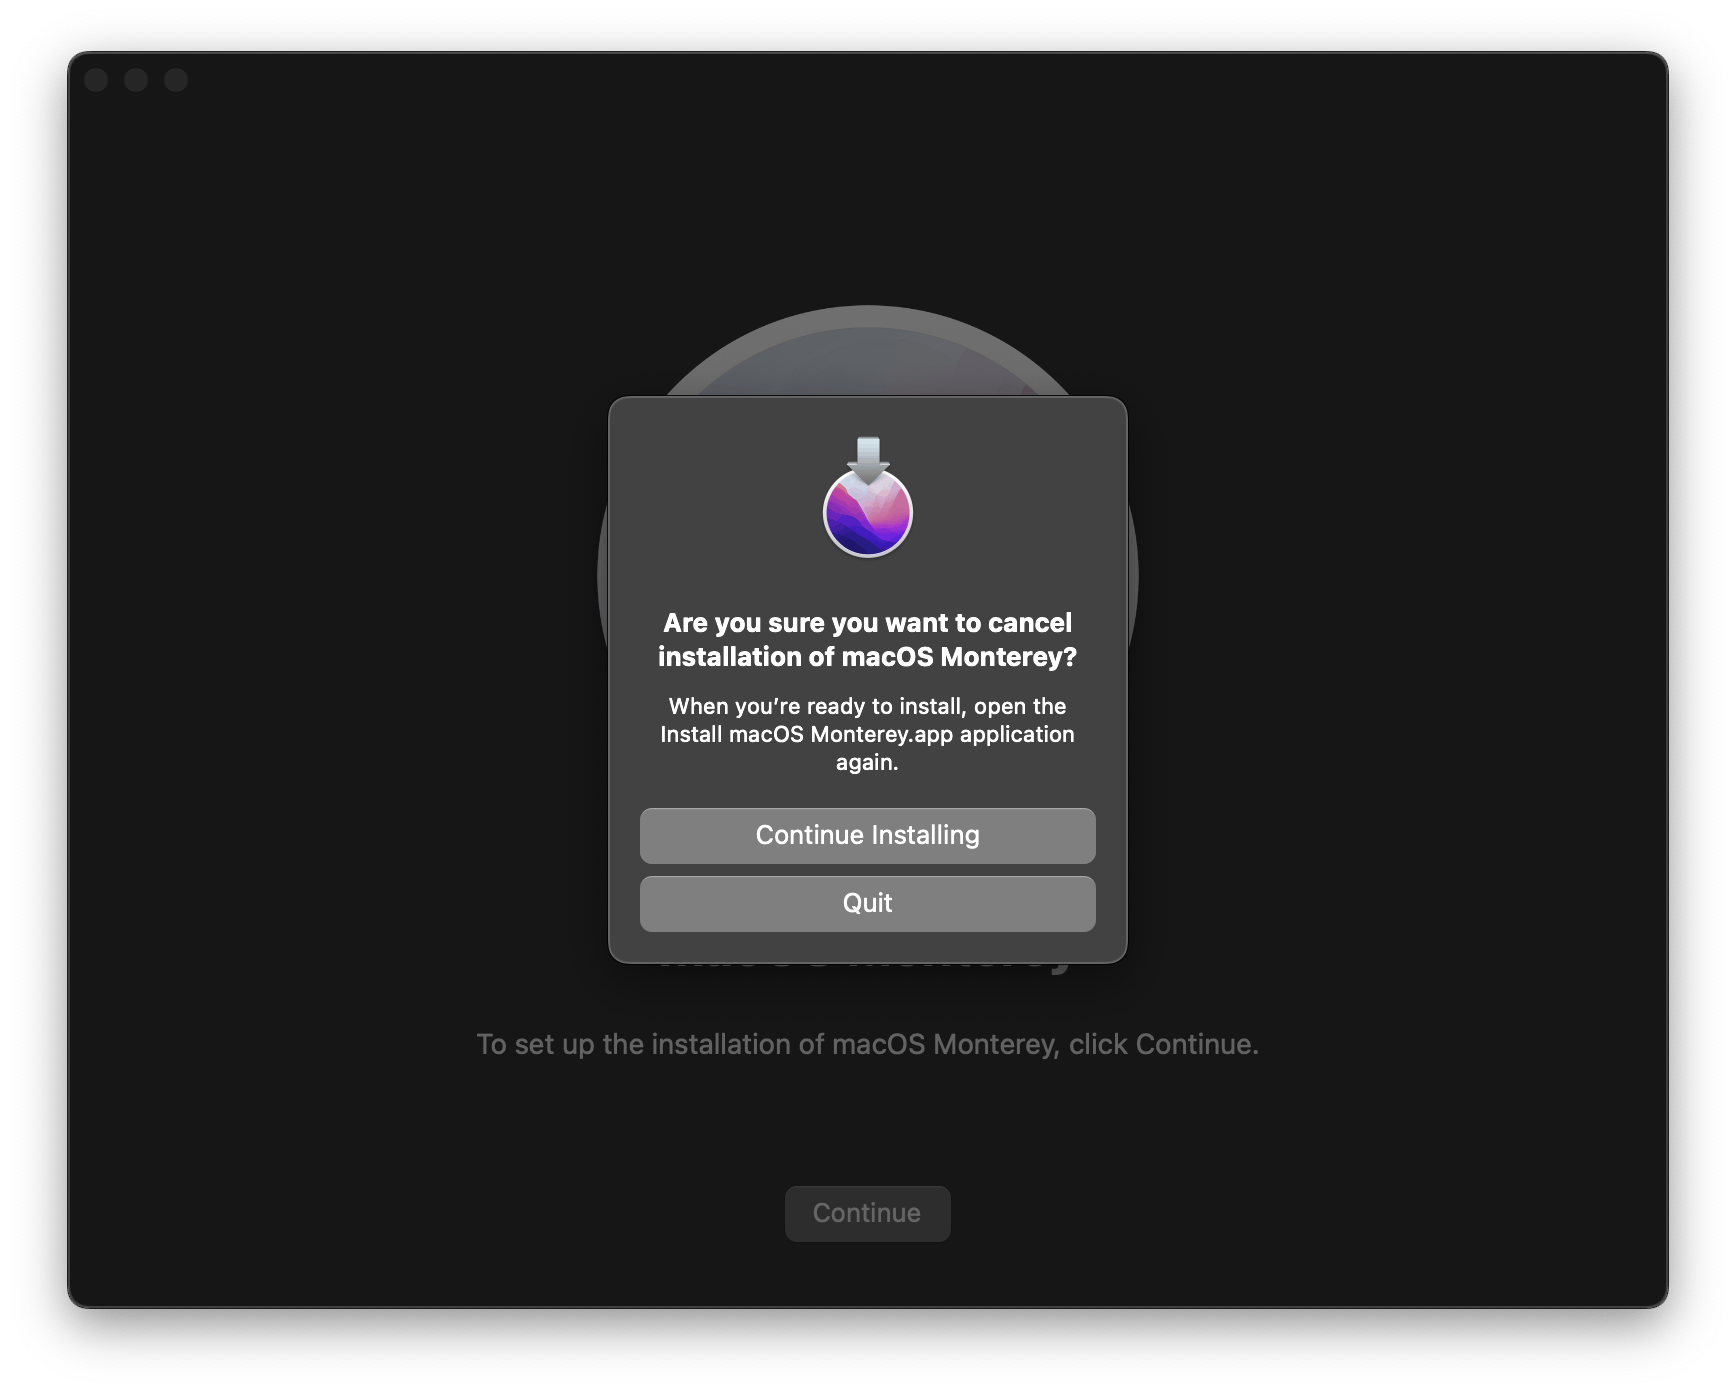
-> To close the 'macOS Monterey' setup window right click its icon on the taskbar and choose 'Quit', then click 'Quit' on the window prompt.

-> To delete the downloaded 'Install macOS Monterey.app' go to Applications in Finder and delete it (need to be an admin user to do this).
-> Empty the trash.
On your usb drive you should now have a bootable installer for Mac Monterey 12.4.