


Table of contents
- Step 1: Download AlmaLinux to Your Virtual Host
- Step 2: Create a Virtual Machine (VM)
- Step 3: Install AlmaLinux on the new Virtual Machine
- Step 4: Install apache2/httpd/ssl
- Step 5: Install php
- Step 6: Install MariaDB
- Step 7: Disable SElinux
- Step 8: Initialize Cockpit for Server Management
- Step 9: Install Zabbix 6.2
- Step 10: Create Zabbix Database
- Step 11: Adjust Firewall
- Step 12: Complete Zabbix install via web browser
- Step 13: Login to Zabbix Server
- Step 14: Configuring Zabbix Agents
Step-by-step tutorial on how to install opensource Zabbix :: "The Enterprise-Class Open Source Network and Server Monitoring Solution" on AlmaLinux.
Note: The following configuration is for development and testing, and is not recommended for production environments.
Please review our Disclaimer
Prerequisites:
virtualization technology such as; Virtual Box (virtualbox.org), Parallels (parallels.com), XEN (xenproject.org), KVM (linux-kvm.org), Gnome Boxes, VmWare Workstation, Hyper-V, vSphere
an ssh client
knowledge of linux and mariadb/mysql/shell commands
a reasonably fast internet connection
how to use vi editor
a large cup of coffee or tea?
Conventions:
commands are in italics
literals are between single quotes 'literal-text-here'
assume commands are to be entered at either the system command prompt or sql prompt where indicated
Step 1: Download AlmaLinux to Your Virtual Host
Download AlmaLinux x86_64 ver 9.1 by selecting a mirror from ('https://mirrors.almalinux.org/isos/x86_64/9.1.html') and then choosing 'AlmaLinux-9-Latest-x86_64-dvd.iso'.
Step 2: Create a Virtual Machine (VM)
Using virtualization technology create new a new VM with the following specs:
8gb ram
100gb hdd (thin format)
VM cd mapped to the downloaded AlmaLinux iso
VM networking should be able to talk to the local network and not be configured in isolation mode
Step 3: Install AlmaLinux on the new Virtual Machine
Power up the VM and go to the VM console.
Choose 'Install AlmaLinux 9.1' and push the return/enter key to proceed.

Choose language and then 'Continue'.

From the 'Installation Summary' screen proceed to set the following...
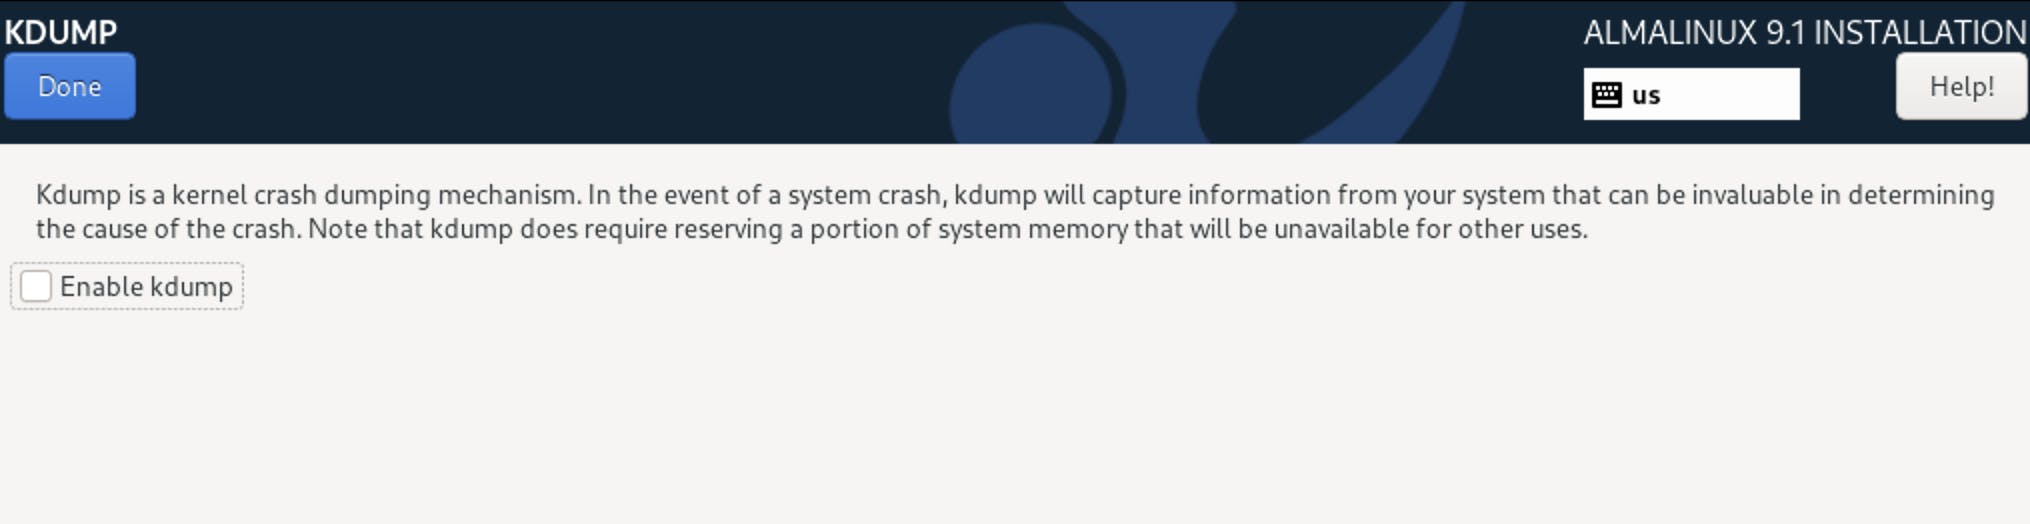
Kdump - disabled.
Installation Destination - open and confirm by clicking on 'Done'.

Network and Hostname - if no DHCP set network and hostname, set tcpv4 static, and set the hostname.
Software Selection - Server, Remote Mgmt for Linux, Console Internet Tools, Headless Mgmt, Hardware Monitoring Utilities.

Root Password - set this by entering and confirming a password.

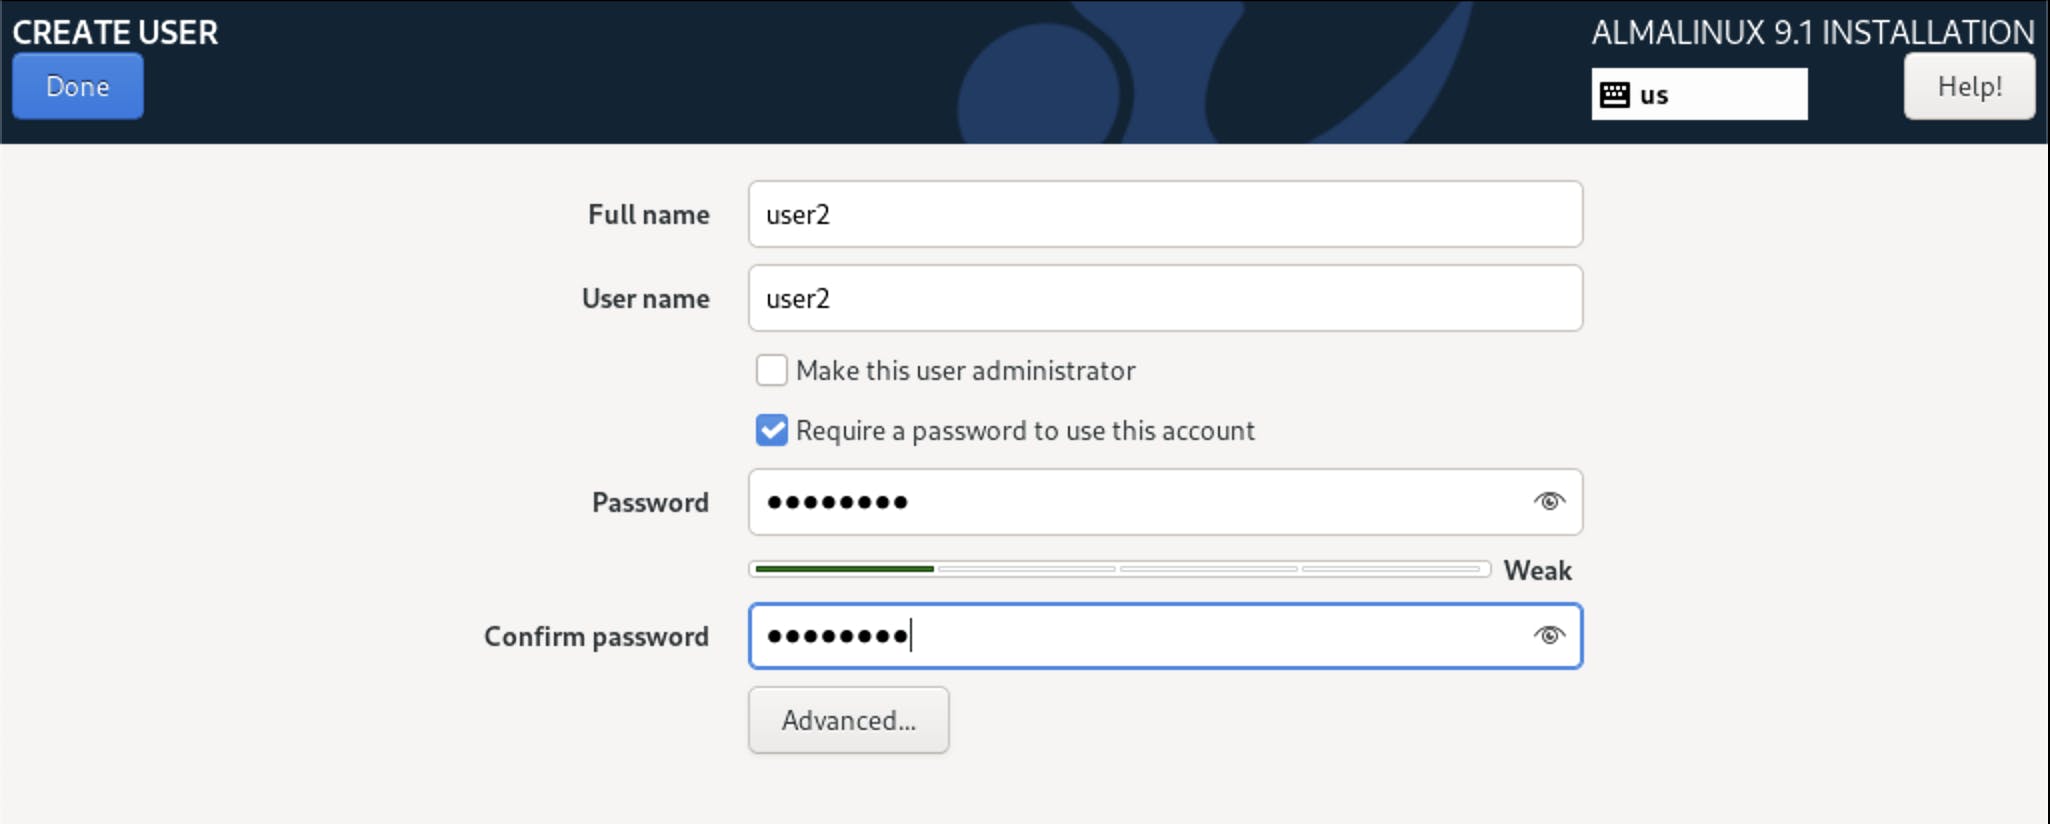
User Creation - create a regular user account and set its password.
Settings Summary - review and then click 'Begin Installation' to proceed.

Reboot VM when prompted.
Post VM reboot, open the VM console and login as 'root' user.

At root prompt type 'visudo'. Arrow down to just underneath 'root ALL=(ALL) ALL' Push the 'i' key to enter insert mode then type in 'user2 ALL=(ALL) ALL' as seen below.

To save and exit, hit the 'escape' key, push the ':' colon key, type 'wq!' then push the return/enter key, you should now be back at the root prompt.
At the prompt, issue the 'ip address' command to get the machine's ip (net address) and make a note of it. The ip will be needed later when logging into SSH, Zabbix and Cockpit.
At the prompt, update the OS by using the following command -> 'yum -y update'
Set OS automatic updates:
-> 'sudo dnf install dnf-automatic'
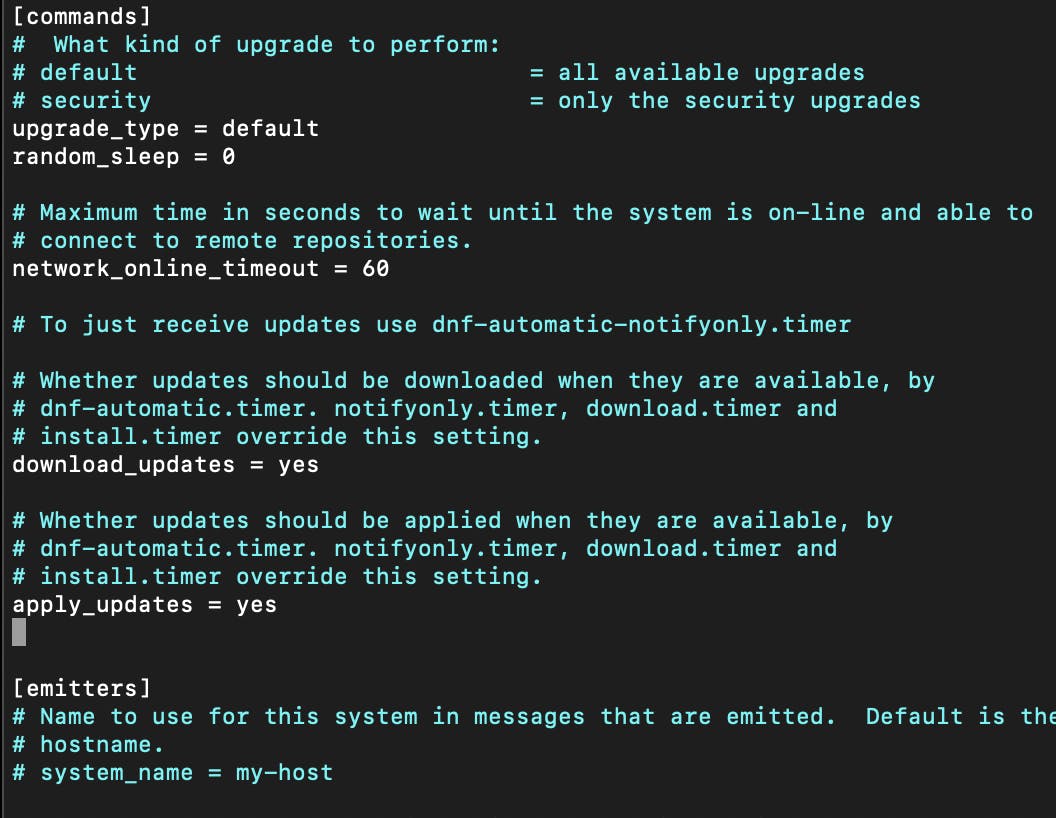
-> 'sudo vi /etc/dnf/automatic.conf'
set 'apply_updates=yes'
-> 'sudo systemctl edit dnf-automatic.timer'
add the following lines starting at the third line down the page...
'[Unit]'
'Description=dnf-automatic timer'
'ConditionPathExists=!/run/ostree-booted'
'Wants=network-online.target'
'[Timer]'
'OnCalendar=--* 4:00'
'RandomizedDelaySec=60min'
'Persistent=true'

-> enable timer ... 'sudo systemctl enable --now dnf-automatic.timer'
-> check timer status ... 'sudo systemctl list-timers dnf-*'
Exit root login console by typing 'logout' at the root prompt and then close the vm's console. Leave the vm running.
Step 4: Install apache2/httpd/ssl
Open ssh client, login as ...
-> 'ssh -l username ipaddress'
Using the regular user username and the vm's ip address, and then enter the user's password when prompted.
Input and run the following commands in sequence in the logged-in ssh session with the regular user account (not root).
-> 'sudo dnf install httpd'
-> 'sudo systemctl start httpd'
-> 'sudo systemctl enable httpd'
-> 'sudo rm -f /etc/httpd/conf.d/welcome.conf'
-> 'sudo systemctl restart httpd'
-> 'sudo yum install mod_ssl'
-> 'sudo mkdir -p /etc/httpd/ssl/private'
-> 'sudo chmod 700 /etc/httpd/ssl/private'
-> 'sudo openssl req -x509 -nodes -days 365 -newkey rsa:2048 -keyout /etc/httpd/ssl/private/apache-selfsigned.key -out /etc/httpd/ssl/apache-selfsigned.crt'
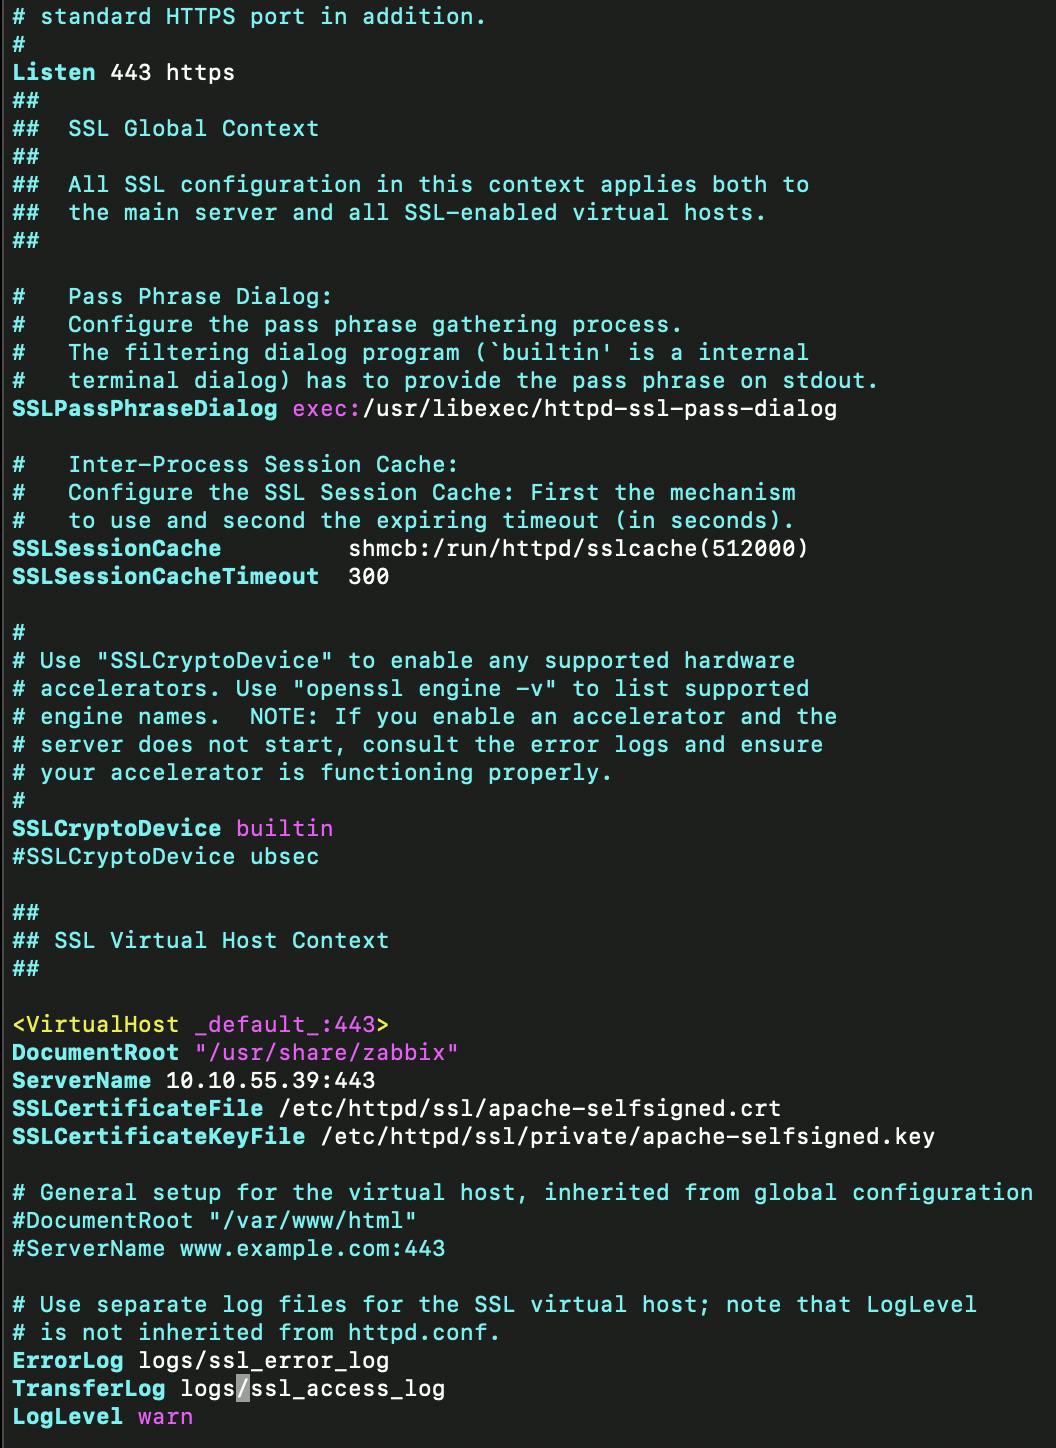
-> 'sudo vi /etc/httpd/conf.d/ssl.conf'
Under 'virtual host' section add the following...
DocumentRoot "/usr/share/zabbix"
ServerName yourvmipaddress:443
SSLCertificateFile /etc/httpd/ssl/apache-selfsigned.crt SSLCertificateKeyFile /etc/httpd/ssl/private/apache-selfsigned.key
-> 'sudo systemctl restart httpd.service'
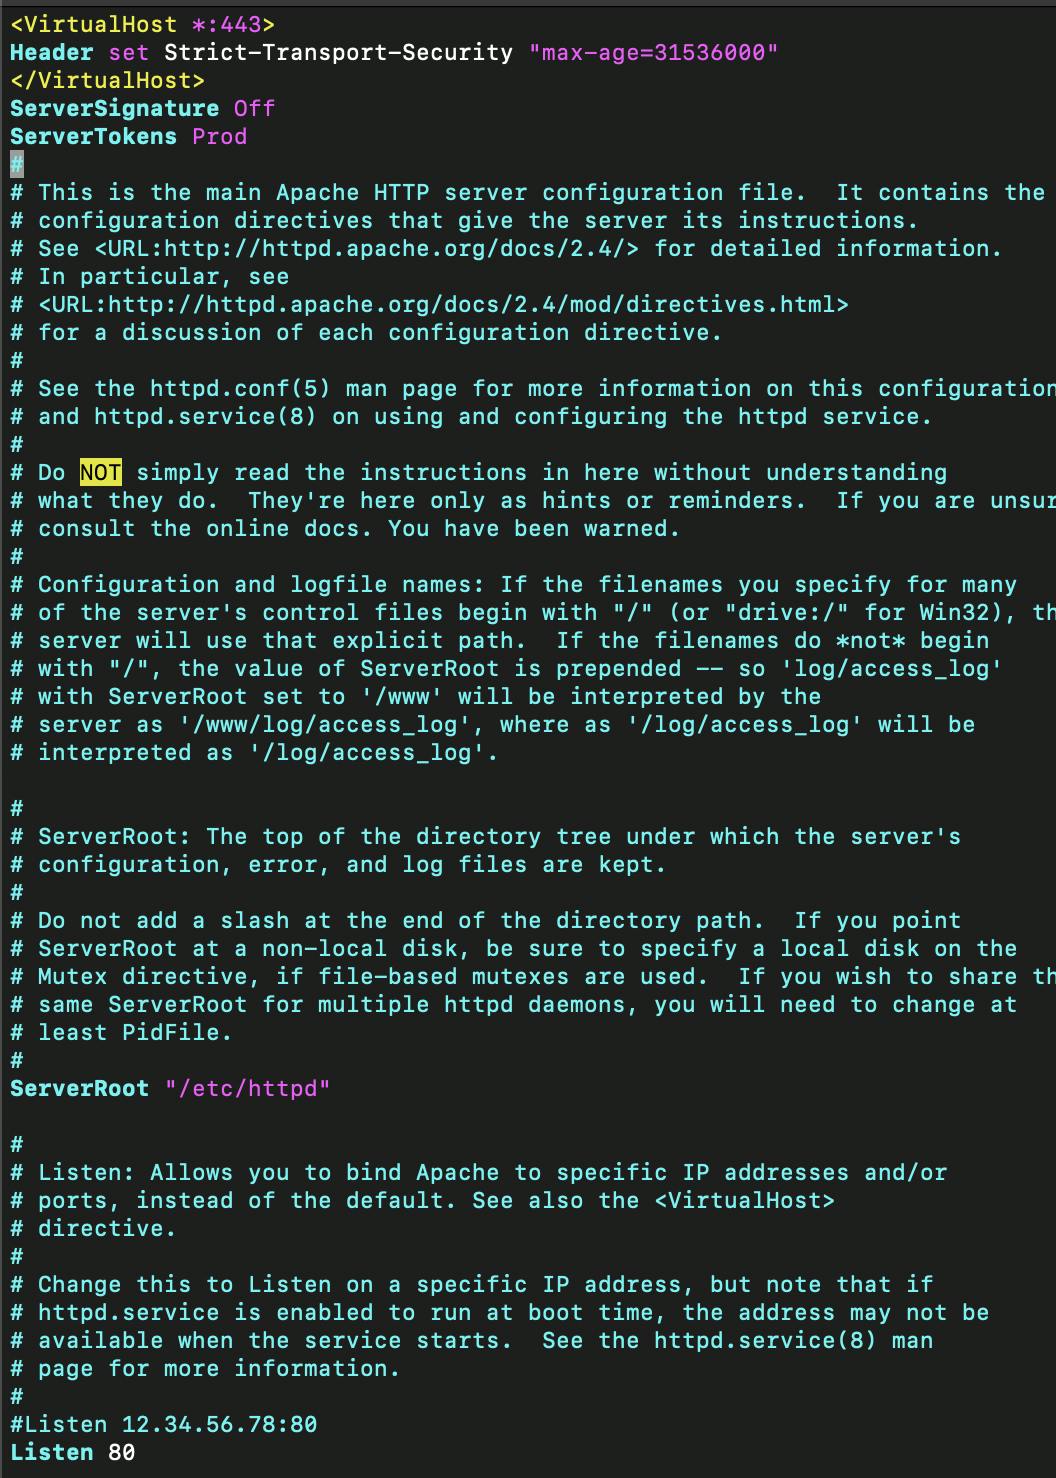
-> 'sudo vi /etc/httpd/conf/httpd.conf'
Add to top of file ...
'<VirtualHost *:443>'
'Header set Strict-Transport-Security "max-age=31536000"'
'</VirtualHost>'
'ServerSignature Off'
'ServerTokens Prod'
-> 'sudo systemctl restart httpd.service'
Step 5: Install php
-> 'sudo yum -y install php*'
-> 'sudo systemctl start php-fpm'
-> 'sudo systemctl enable php-fpm'
-> 'sudo vi /etc/php.ini'
Set ... 'expose_php = Off'

-> 'sudo systemctl restart httpd.service'
Step 6: Install MariaDB
-> 'sudo dnf install mariadb-server mariadb'
-> 'sudo systemctl start mariadb'
-> 'sudo systemctl enable mariadb'
-> 'sudo mysql_secure_installation'
n none
Y (root pwd)
Y (remove anonymous users)
Y (disallow root login remotely)
Y (remove test db)
Y (reload tables)
Step 7: Disable SElinux
-> 'sudo vi /etc/selinux/config'
-> change 'SELINUX=enabled' to 'SELINUX=disabled'

-> 'sudo setenforce 0'
-> 'sudo shutdown -r now'
Once vm has rebooted and is back online... open ssh client, login as regular user.
-> 'ssh -l username ipaddress'
Step 8: Initialize Cockpit for Server Management
-> 'systemctl enable --now cockpit.socket'
-> 'sudo systemctl start cockpit'
-> check status by running ... 'sudo systemctl status cockpit.service'
-> 'sudo firewall-cmd --permanent --zone=public --add-service=cockpit'
-> 'sudo systemctl enable cockpit.socket'
-> 'sudo firewall-cmd --reload'
To access cockpit -> https://ipaddress:9090
Step 9: Install Zabbix 6.2
Install zabbix repository.
-> 'sudo rpm -Uvh repo.zabbix.com/zabbix/6.2/rhel/9/x86_64/za..'
-> 'sudo dnf clean all'
Install zabbix server, frontend, and agent.
-> 'sudo dnf install zabbix-server-mysql zabbix-web-mysql zabbix-apache-conf zabbix-sql-scripts zabbix-selinux-policy zabbix-agent'
Step 10: Create Zabbix Database
-> 'sudo mysql -u root -p'
-> 'create database zabbix character set utf8mb4 collate utf8mb4_bin;'
-> 'create user zabbix@localhost identified by 'password';'
-> 'grant all privileges on zabbix.\ to [zabbix@localhost](mailto:zabbix@localhost);*'
-> 'set global log_bin_trust_function_creators = 1;'
-> 'flush privileges;'
-> 'quit;'
Import schema and data.
-> 'zcat /usr/share/zabbix-sql-scripts/mysql/server.sql.gz | mysql --default-character-set=utf8mb4 -uzabbix -p zabbix'
Tidy up after import.
-> 'sudo mysql -u root -p'
-> 'set global log_bin_trust_function_creators = 0;'
-> 'quit;'
Set zabbix database password.
-> 'sudo vi /etc/zabbix/zabbix_server.conf'
-> unrem 'DBPassword=' and set 'DBPassword=zabbix-user-password'

Freshen up the install.
-> 'sudo systemctl restart zabbix-server zabbix-agent httpd php-fpm'
-> 'sudo systemctl enable zabbix-server zabbix-agent httpd php-fpm'
Step 11: Adjust Firewall
-> 'sudo firewall-cmd --zone=public --permanent --add-service=http'
-> 'sudo firewall-cmd --zone=public --permanent --add-service=https'
-> 'sudo firewall-cmd --reload'
-> 'sudo firewall-cmd --list-all'
Step 12: Complete Zabbix install via web browser
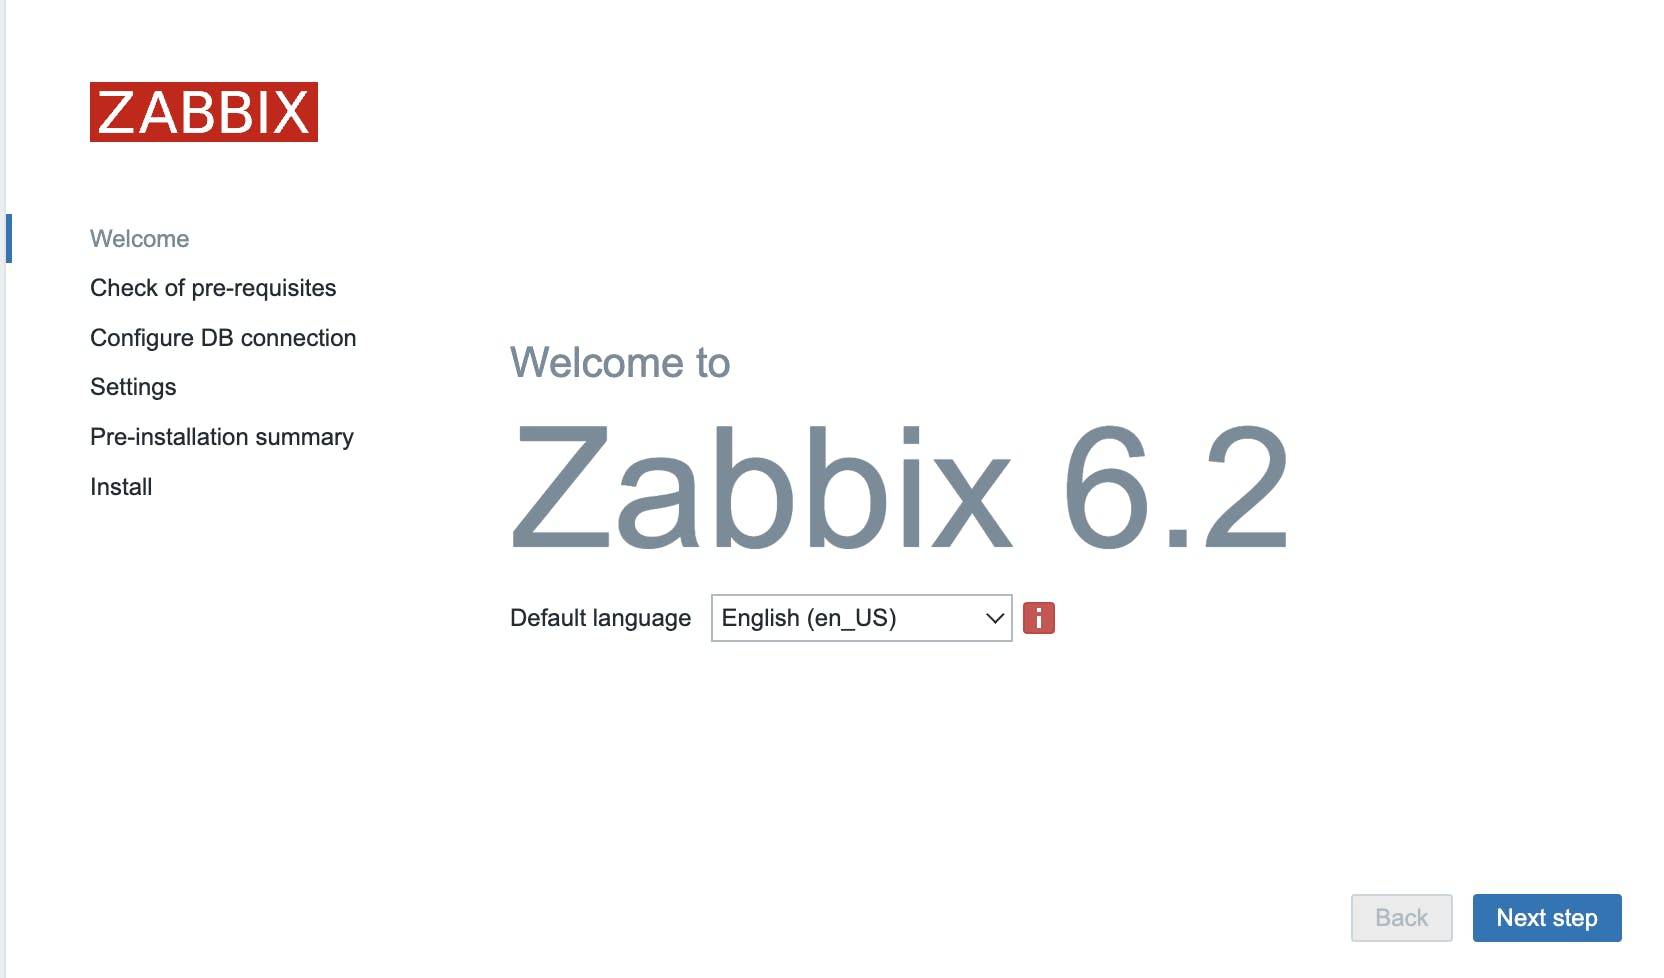
-> Check prerequisites.
-> Set options where applicable, and set timezone.

-> Install process creates 'etc/zabbix/web/zabbix.conf.php'.
Step 13: Login to Zabbix Server
Open a web browser.
-> default login = un- Admin pwd- zabbix
-> user settings / profile / change password
Step 14: Configuring Zabbix Agents
To be continued in a separate article.